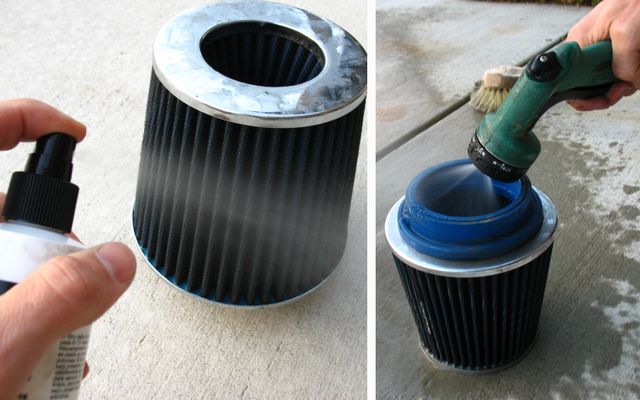
The air intake supplies the engine with oxygen for combustion in a variety of conditions dictated by regulation, ease of maintenance or manufacturer's geographic market. Cars need to run in bad weather, rain, sand and high in the thin air of mountainous areas. Therefore the intake has to have great air filtration, a curved shape to bypass water accidendally sucked up, have a resonator for noise reduction and be easy to install in pieces.
But optimizing for ideal conditions -- like no rain and frequent maintenance -- the OEM intake can be replaced with an improvisation that is streamlined, has a high-flow filter and is insulated from the heat of the engine bay. The engine can then effortlessly breathe colder, denser air and free up engine power.
You can buy expensive pre-made intakes for this purpose or make a dyi "home depot" intake as shown below. Be aware of local emissions regulations.
Complete install:
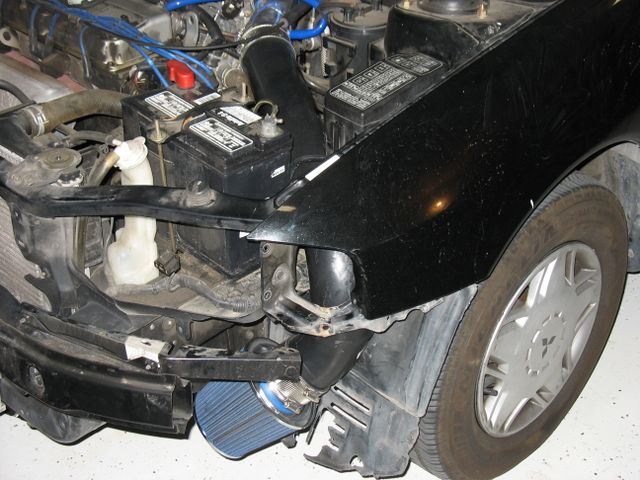
I had an S-shaped short-ram intake from eBay so just built on top of it. All I needed was:
- ABS tubing, 2" or 3" diameter. I used 3".
- ABS 45 degree elbow
- ABS cement
- eBay intake
- Thermal tape
Refer to the short-ram tutorial for instructions to remove the upper intake. Save the parts and special bolts in a box or bag.
- Remove the second filter housing bolts and remove the housing by separating it from the water bypass connector.
- Remove the connector by popping it out of the box
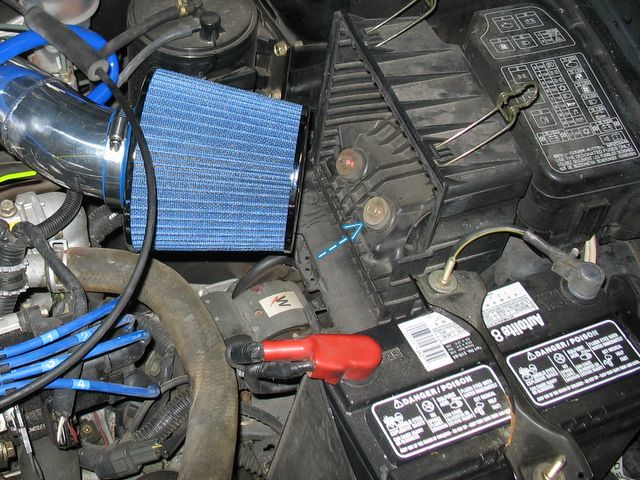
- Raise the car. From underneath the car, find the two bolts holding the water bypass box onto the frame. One is between the box and the driver-side headlamp and the other is between the brake vent and the box
- Remove the bolt from the air inlet. This is in the engine bay, on the fender, right by the battery.
- Below are the three bolts you're going to remove.
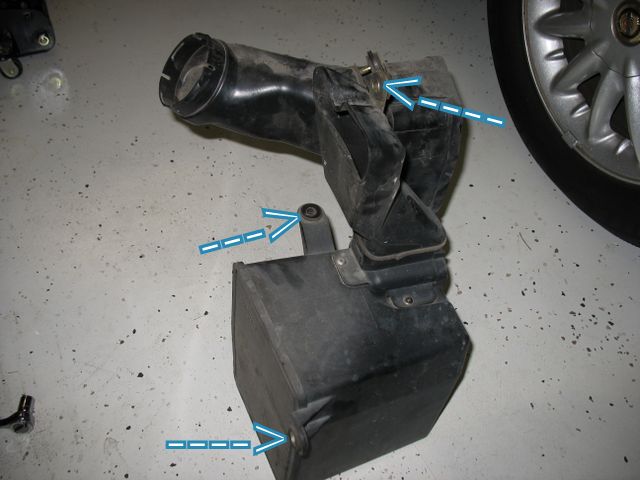
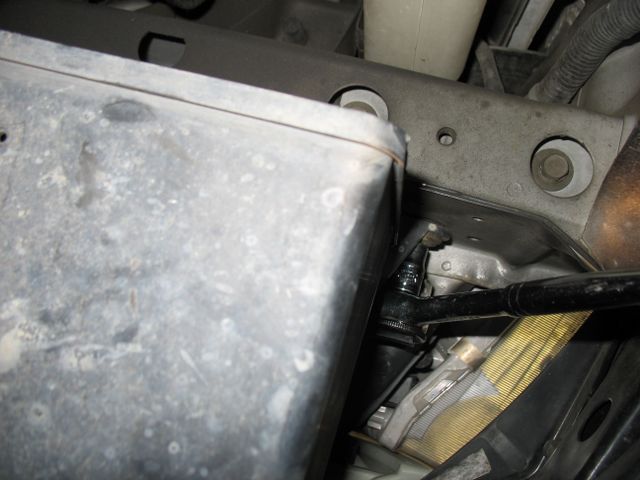
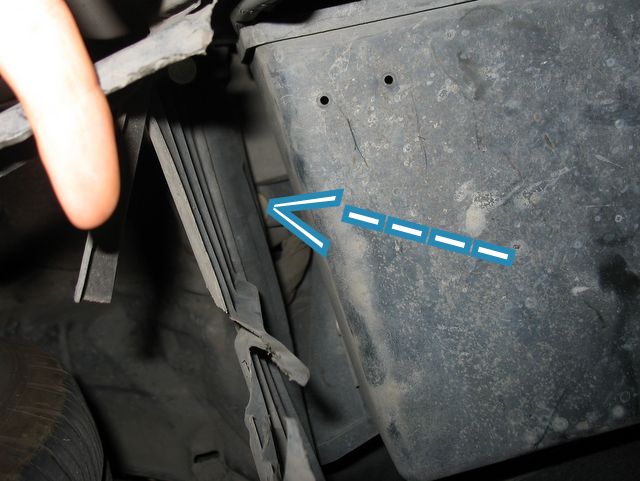
- Remove the water bypass box from the car
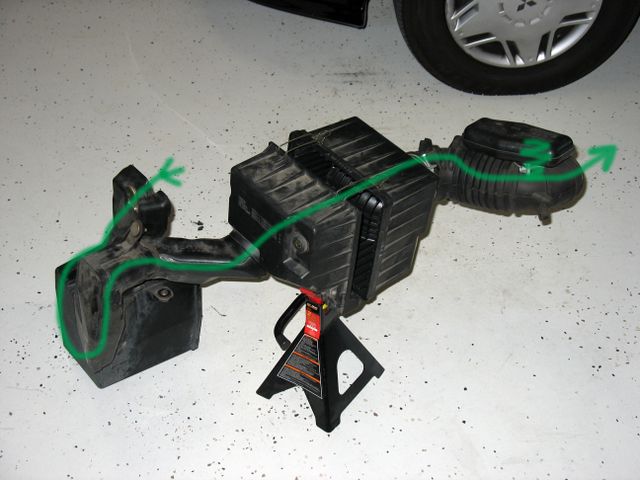
Here is how the stock intake looks, with the direction of airflow as indicated.
Sand the mating surfaces to aid adhesion. Use ABS cement to glue the two 45 degree elbows at 90 degree. In your left hand hold the lower elbow by the end opposite of the filter. Insert the other elbow so it forms a U shape, then turn it clockwise 90 degrees.
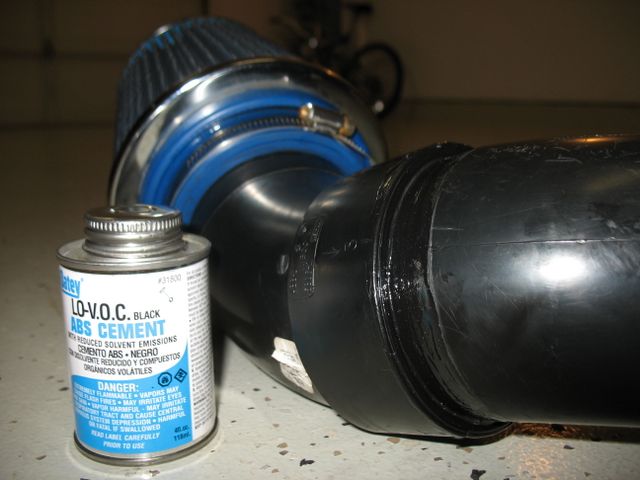
Use some of the tubing from the short-ram kit to make a transition from the thicker diameter of the ABS pipe to the narrower S-shaped tube of the short-ram. Use a 3" no-hub coupling to clamp the two pipes together.
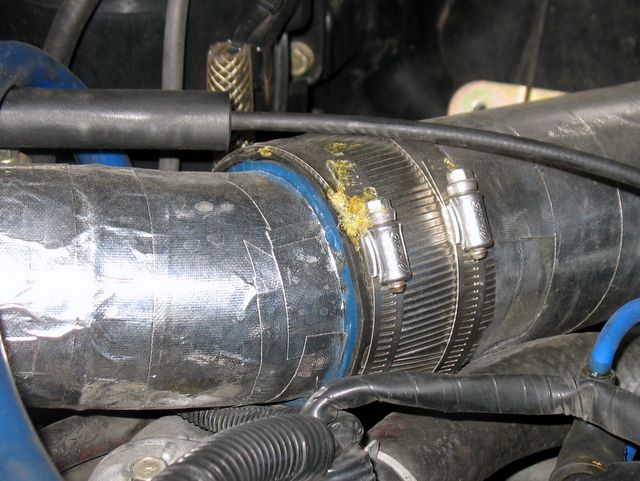
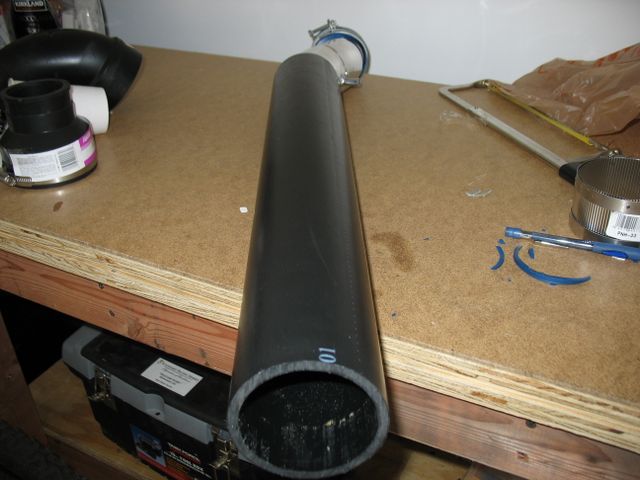
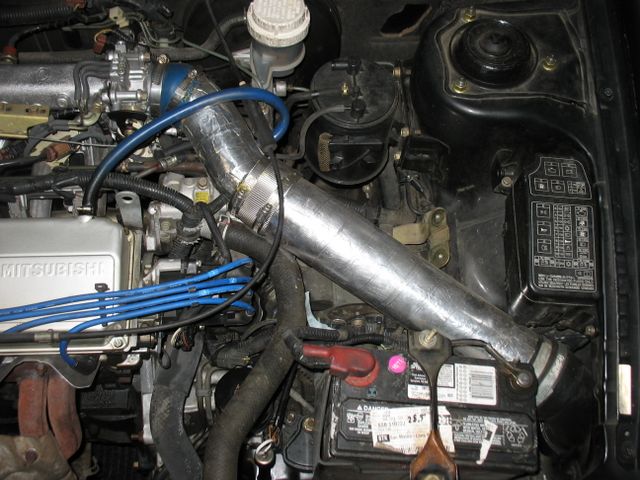
I used some eBay thermal tape to insulate the intake tube.
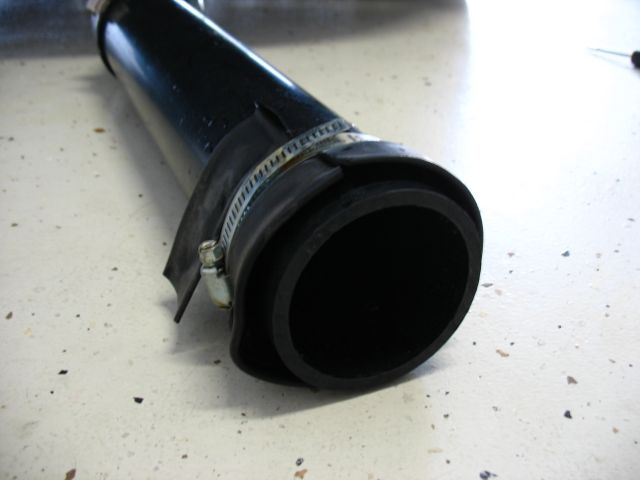
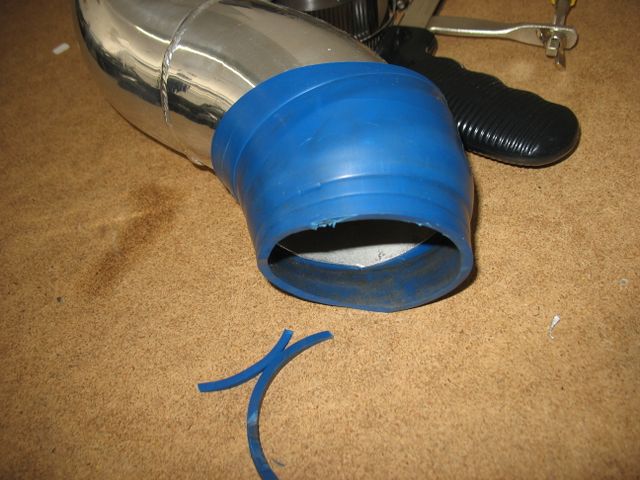
This is a transition joint between the long pipe and the thick end of the top elbow joint that holds the air filter. This joint has to come off when the filter requires maintenance. I used a bicycle tube to make an increasing diameter sleeve. I glued and clamped one end of it to the long pipe; the other end gets clamped to the elbow.
The upper intake tube from the manufacturer has a ribbed shape that absorbs vibrations. Removing it eliminates a lot of air resistense from the "ribs" but now the vibration shifts down to where the intake goes through the fender, by the battery area. I repositioned the battery a bit to make more room but still the intake rubs against it. I haven't found an ideal solution to this yet, I just grease the area with lithium grease.
The S-shaped tube of the short-ram needs to be at a sharper angle to the throttle body, so I had to reposition the rubber tube to fit this angle.
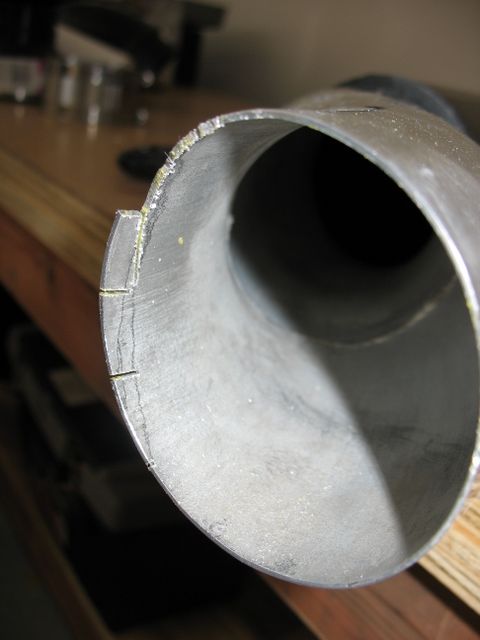
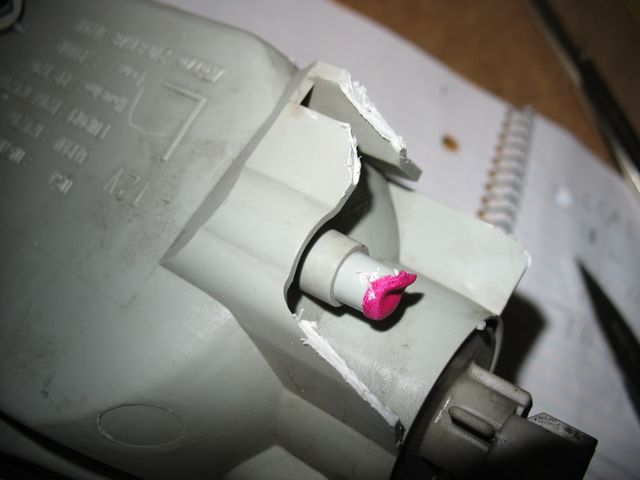
I also had to trim the corner light so that the lower intake can fit through the fender.
A picture of the intake from above.
I inserted a thermometer in the intake and heated it with a 500 watt light for 45 min. Here are the results:
- Stock ABS pipe - heated to 120F / 49C
- Cooler liner bubble wrap - heated to 82F / 28C
- eBay "thermal wrap" - heated to 88F / 31C
Due to its position, about a quarter of the filter does get wet but that doesn't seem to affect the engine, many years after installing it.
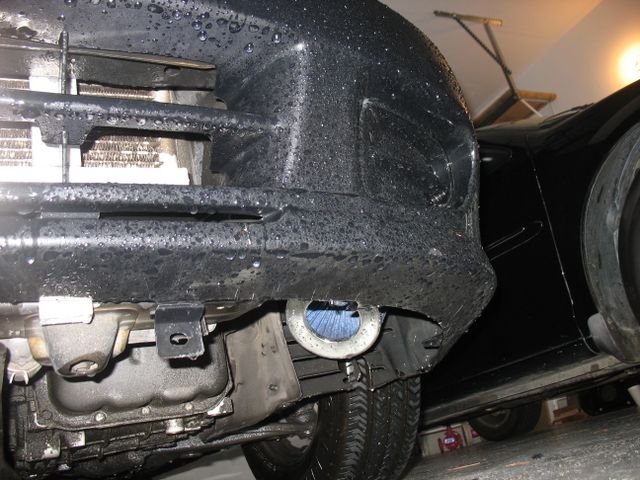
Every 12 months, typically after the rain season is over, I remove the filter for cleaning and oiling.
