<< First [Prev] [Next] Last >> 1.. 2
Difficulty: medium
Cost: moderate
Caution points: accidentally covering bolt holes, getting the upholstery dirty, cutting yourself
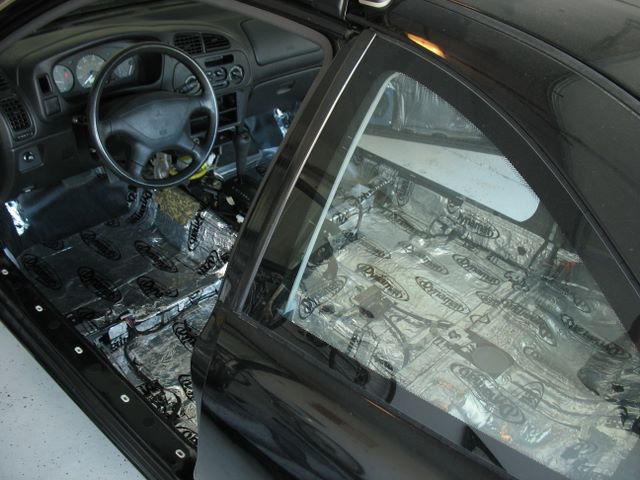
Like all upgrades, sound insulation has to be tailored to a specific optimal application. If you're insulating for sound quality then you'll have to think about good speaker enclosures. Exhaust drone giving you a headache? Then insulate the trunk. Have a permanent roof rack? - insulate the roof, and so on. My target application is the road noise I get from commuting across a 6 mi bridge to my work. Since the bridge is about 50% of my commute, this was worth doing, especially since the bridge is essentially a flat 6 mi washboard with cross-sectional grooves for water runoff.
 There are many options available, certainly more for the interior than firewall/hood
but I chose Dynamat. According to sounddeadeningshowdown.com, it's the thickest,
heaviest and best of all is made of bytil and not asphalt, like other products.
It is very popular and it's easy to find it at discount prices. I bought
2 packs of 36sqf ea from Amazon.com, at about 90$ each. This amount was sufficient
for the entire floor and rear seating platform, doors, quarter panels and the firewall
up to about knee height. Dynamat is a "mat" made of a layer of butyl
sandwiched between a supporting sheet
of aluminum and a sheet of laminated paper. Each pack has 9 sheets of 4sqf and weights 18lb.
The installation time will depend on what you're doing to the car at the same time.
Here's the tools I used:
- Working gloves - if you think paper cuts are bad, wait till you get aluminum cuts.
- A utility knife - I managed to cut most of the stuff with a thin paint knife. Scissors will definitely squeeze the butyl out, which will quickly get on everything.
- Screwdriver - comes in handy for butting the material into corners. Spare your knuckles!
- Clothes - the butyl can get messy so wear something disposable (or inside out)
- Ruler, tape - measure as much as you can, the less fragmentation, the better
- Red sharpie - works well on both sides of Dynamat.
The first step is to clear the entire floor, or at least the passenger side, including the seat, door panel, quarter panel cover and rear seat and backing. The will keep the car drivable while you get upto speed with the procedure by working on the passenger's side first. Take lots of pictures of what parts go where. The car will look different once you're done, some things may be unrecognizable. Be sure to screw any bolts back in so that you don't lose them and don't accidentally cover their hole. Wash and dust the floor properly or otherwise the material won't stick well.
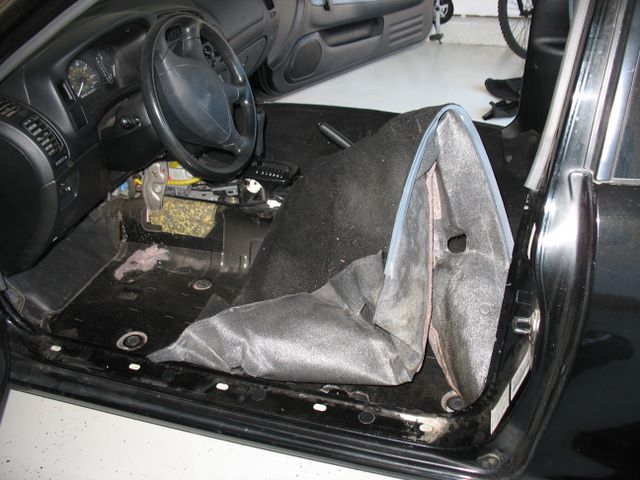
To make the best of Dynamat you must figure out what makes most of the noise in the car. As an example, think of the procedure of finding two studs in a wall. As you go along the wall knocking on it, it will resound most between studs and least on the studs themselves. That's because the area inbetween the studs has more room to vibrate, so if you wanted to reduce noise in the wall you'd have to focus on this middle spot. Another way to visualize this is to think of the area of a drum that makes most sound. It is obviously the center so when insulating your car you'll have to find these "drumming" surfaces of your car's body and make the center of these areas more inert. You could simply cover the enitre car's body, but if you have limited material (or extra, for a top-off layer) stick on in center of these areas and don't worry about nooks and crannies too much. You're not thermalproofing! These areas on most coupe cars are the driver and passenger floor, top and bottom halves of the door (separated by the reinforcement bar) and the quarter panels. Farthest away are the trunk, hood and roof. After you insulate the floor, put a floor mat upside down on it. This is because while you're gonna work on the rest of the car you'll be standing on one foot or knee on the treated surface and you'll end up squishing and spreading the material a lot. And don't wear cleats, black socks are best!
If you measure ahead and cut then you'll save material. Cutting it as you go will consume more insulation but you'll end up double-layering some of it, which doesn't hurt. The best approach is to glue down the largest contiguous areas first, like the floor buckets, then the second-largest areas, like the firewall, rear bench, then quarter panels and door sections. Next, come around a second time and fill in the floor walls, irregular exhaust hump areas and finally fill everything else you missed, such as triangular areas and other odd corners and islands. Again, remember that you don't need to fill every nook and cranny you'll want to follow with an application of closed cell foam after this.
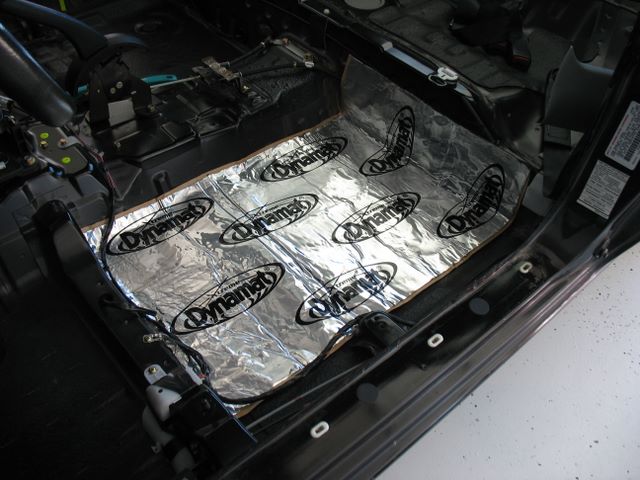
Keeping in mind that each sheet is 18" x 32", measure the panels of each area and try to see how best you can divide the sheet so it's divided in even "tiles." To this end, you want to start with the squarest areas first. If you lay down one section of the floor with unequal "tiles" of material then you'll have to cut uneven tiles again for the section adjacent to it, thus exacerbating the problem and certainly wasting material by double-overlaying.
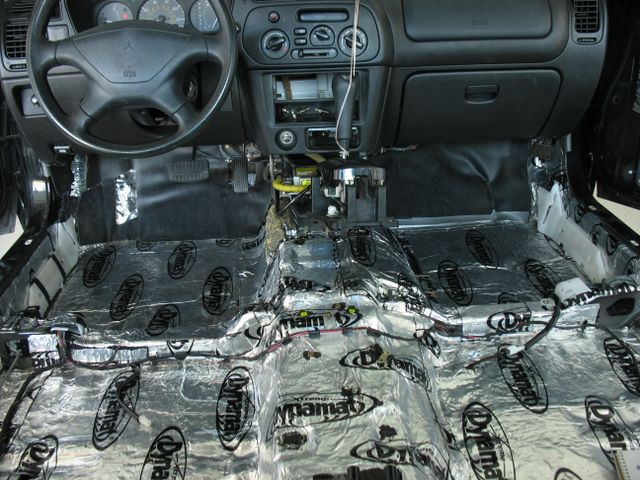
Below I finished the bottom of the front and rear foot areas with almost no cutting.
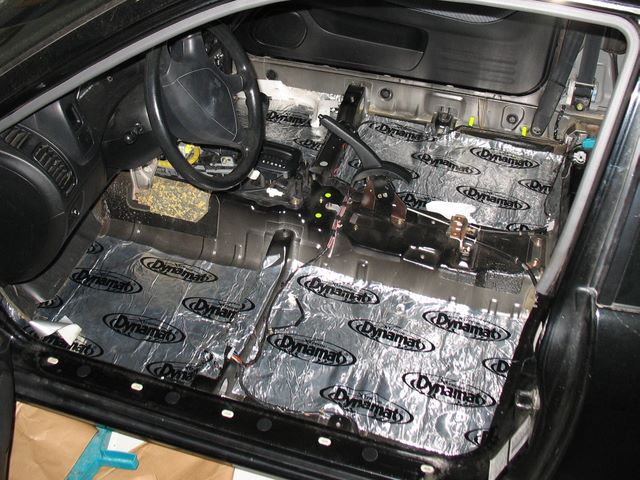
In this picture the shifter assembly is lifed and tied to the mirror and console vents. The hand brake cables are peeled back on the rear bench. This allows the exhaust hump to be covered easily.
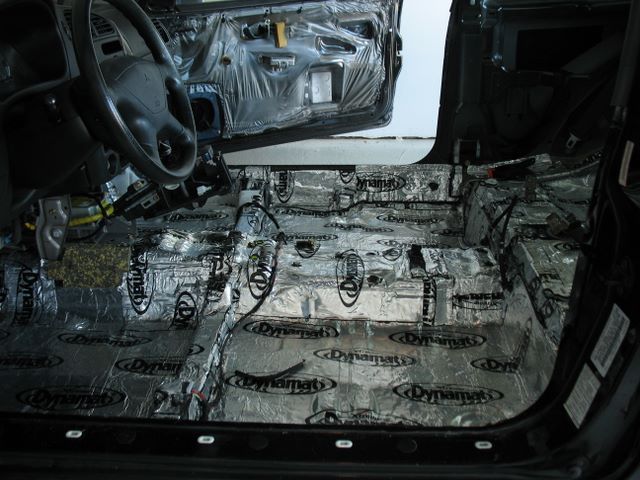
The firewall is hard to cover well with the console in place. I did my best to cover as much as possible up to the height of the pedals by folding up the stock vinyl insulation.
<< First [Prev] [Next] Last >> 1.. 2
To Step 2 - Doors and Rear Bench