<< First [Prev] [Next] Last >> 1 ..2
Remove the door panels, speakers and their enclosures and carefully peel the weather skin from the outside to the center and tape or clip it together.
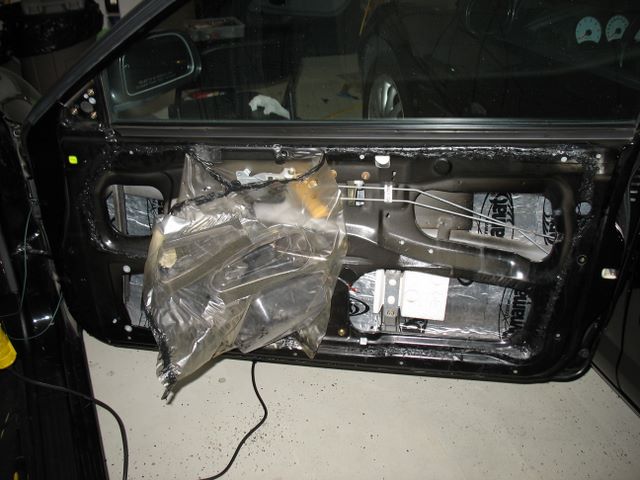
Brush and wipe down the inside of the door if it's dirty. Use the paper from used sheets to draw a template of each panel. This can get complicated since the reinforcement bar runs diagonally which will cause many triangles. You have several options for getting dynamat in these difficult areas:
- Cut small tiles and peel them entirely and put them in
- Cut longer tiles and remove only half of the paper. Lay the tile down like a band-aid by first sticking only half the tile first, then peeling the rest of the paper and doing the second half. all the paper
- Peel the tile entirely and roll it or fold it get it in
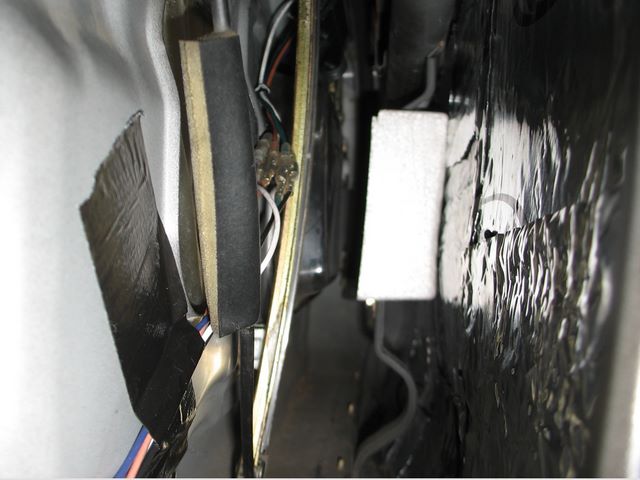
There's no point adding on layers to the door; I'm going to look at following up with some insulating foam. I definitely don't recommend replacing the weather skin with dynamat, you'll be sorry next time your window regulator breaks down. Also, dynamat needs to be stuck to a vibrating surface in order to work, sticking it over air won't do it.
I left the bottom of the door untreated; it's got some holes there for water to drip out.Dynamat was applied sparingly in this area, since the gas tank under the bench already cuts some of the noise. Also, the bench has many irregular lines so there's nothing here that would vibrate that much. Once I was done with the bench, I had a better idea of how to use the remaining whole and scrap parts.
Before: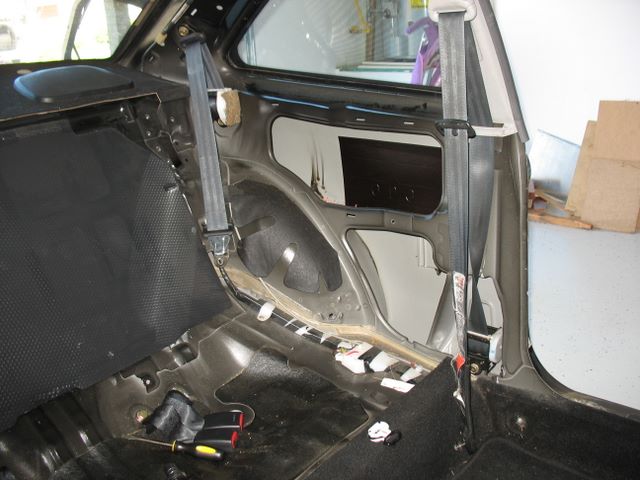
After:
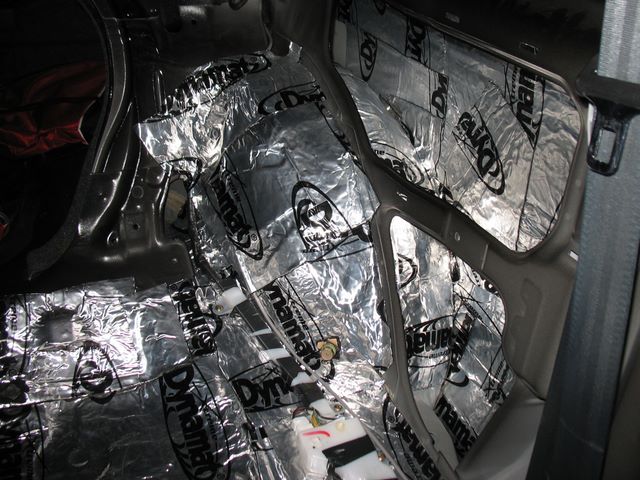
Go back to other areas of the floor and fill in any unfinished areas.
For the hood I got the Hoodliner, also from Dynamat. It's a 3/4" thick layer of closed-cell foam with an additional layer of aluminized skin to reflect heat. I got this liner to cut down on engine and intake noise. I simply don't like to get attention to the roaring sound from the intake. The proper solution is to inline a resonator somewhere but adding this layer cut off some of the engine noise and definitely took the edge off of the intake noise. As I got ready for to install it, I took pictures of all labels that are present on the hood.
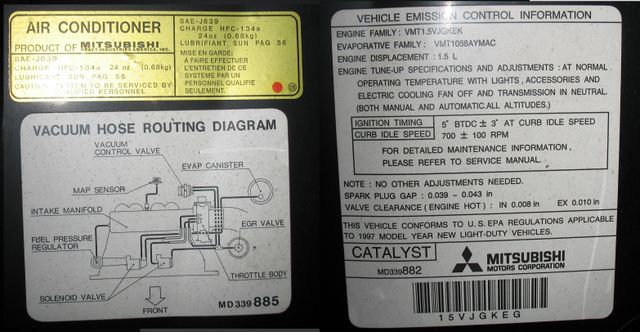
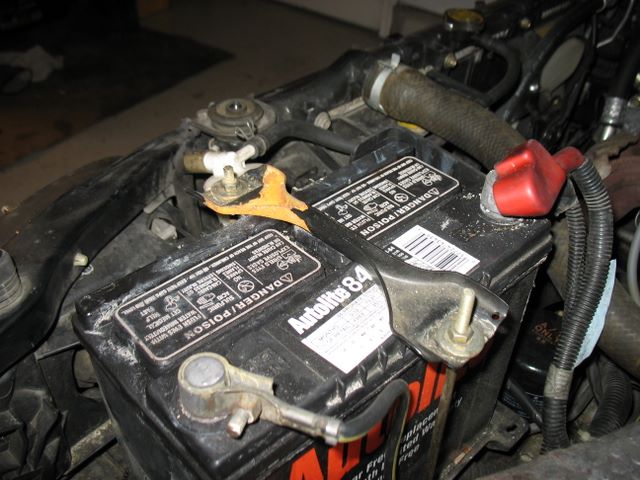
A second pair of hands is indispensable for fitting and installing the liner, but you can do it alone if you have the right tools. Center the liner and hold it down with a couple of grip vises and masking tape. Take a look at constraining factors such as the windshield fluid lines, hood stopper catch, hood bumpers and battery strapping rods and think how to work around them for good results. In my case, I aligned the liner against the front weatherstripping and worked down from there.
Although I don't care for the aluminized layer to protect my hood finish by keeping the heat in the engine bay, it does present one advantage seen here:
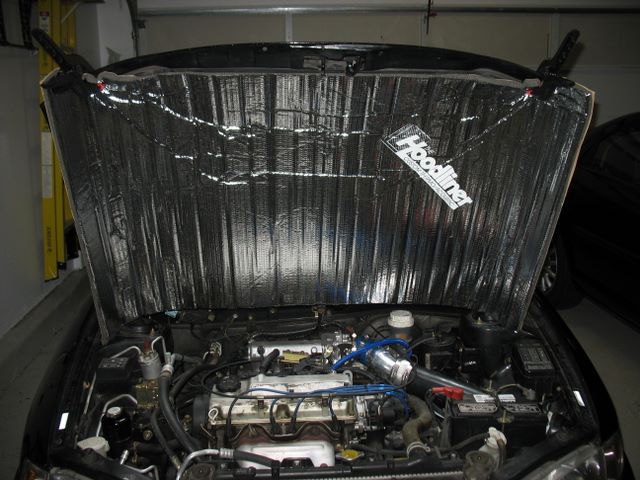
The liner reflects a good amount of light down into the engine bay. I don't have a "before" picture for comparison but since installing the layer it's made working in the dark corners of the bay a lot easier.
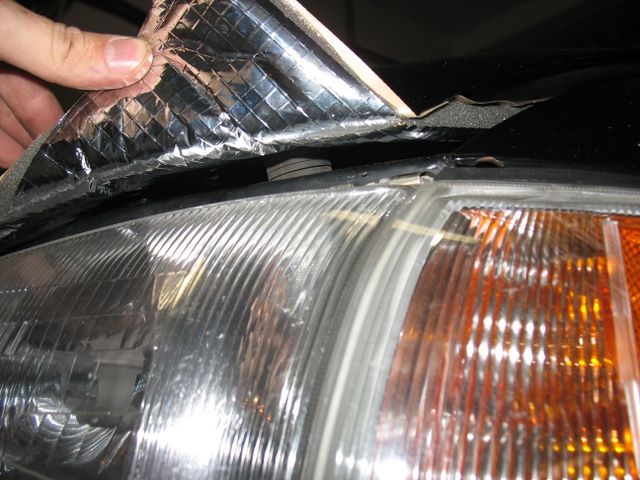
My first step was to glue part of the liner so I can close the hood and measure the excess part that needs to be cut off near the headlamps:
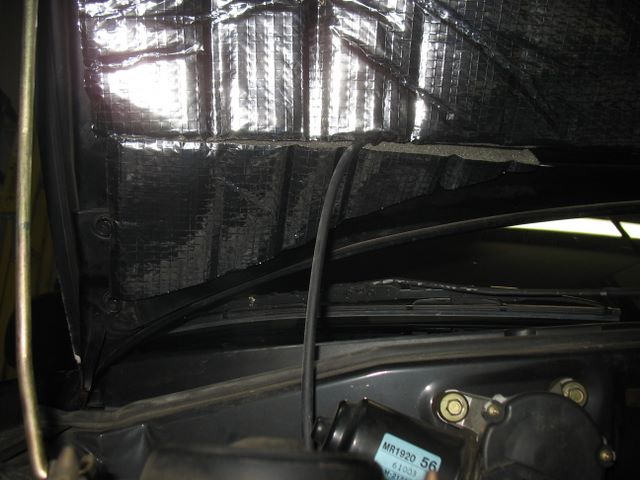
This part fits well at the bottom of the hood, near the suspension posts and snuggly wraps around the windshield fluid line:
Keep working left to right, top to bottom.
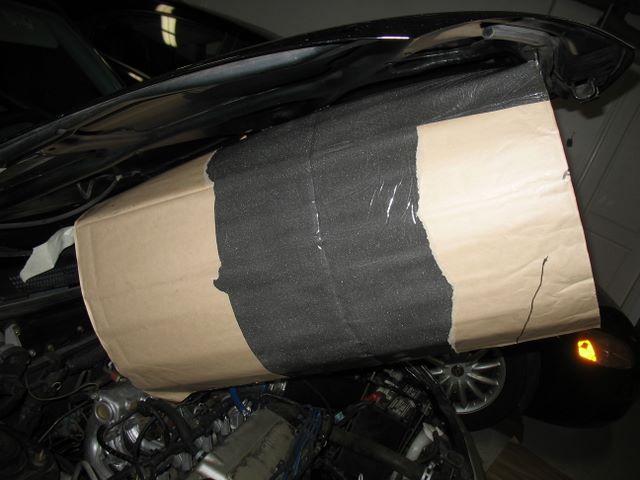
Hood support.
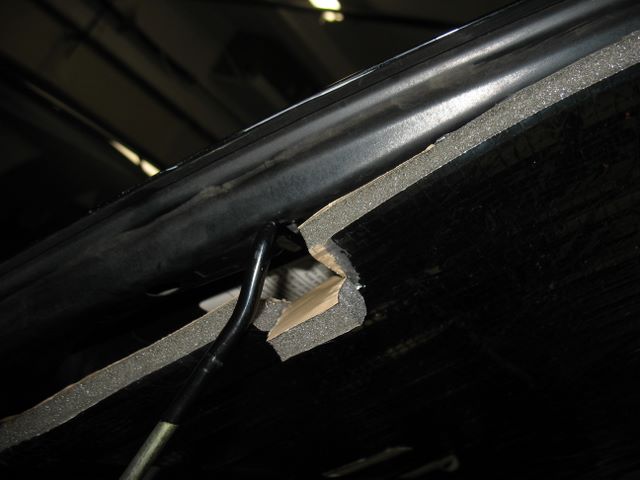
I cut one of the battery bolts short because it was poking a hole in the liner.
Let's get this out of the way -- no, it's not quiet like in a luxury car. But it's a lot quieter. The first thing I noticed is that the noise from bumps and those plastic lane dividers are quickly absorbed by the insulation. Their vibration duration is probably cut by more than 2/3rds because they get absorbed very fast. The second thing was the "speed-vs-noise test." As with anyone else, the level of outside noise plays a part in estimating my speed and I was surprised to reach cruising speeds of 80mph while the noise felt more like 50mph. But, while outside noise was overall cut by 50% or so on regular roads, riding over the bridge is still noisy. After some reasearch I realized that my economy Michelin tires are quite noisy by design. I'll keep this in mind next time I change tires.
With most of the shell soundproofed, it quickly became obvious what else is making noise. The windows have some freeplay within the weatherstripping, so it will have to be taken care of. For e.g. knocking on the windshield makes a crisp knocking sound, while knocking on the window rattles it a bit, which equates to lots of vibrations on the road. Also, when I drove with the rear seats and trunk separator removed I realized just how much background noise the rear of the car makes. So I'll look at doing that area when get more material. But for now, simply having the backseat cushion in place is sufficient to quiet it down.
Besides road noise dynamat does cut some amount of heat, as advertised. One a sunny day, the butyl is one more thing that heat has to work through to get to the cabin. Of course, heat still gets in through the top half of the car but it takes the AC less time to cool it back down. Overall, I definitely recommend doing this project.
<< First [Prev] [Next] Last >> 1 ..2