<< First [Prev] [Next] Last >> 1.. 2
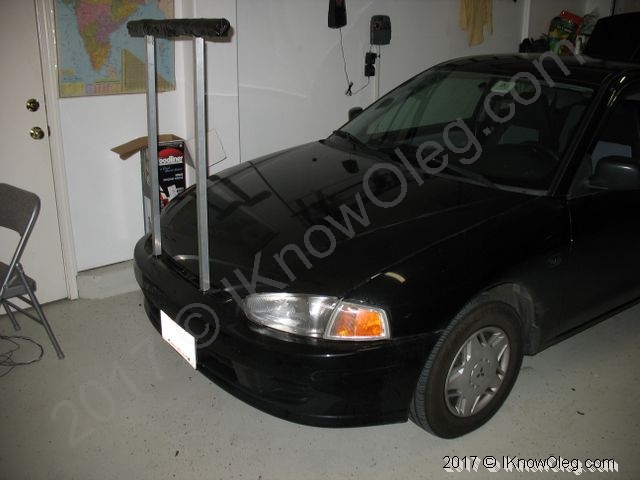
Here's the hang glider rack for this fifth generation Mirage. In the front it's got a support bracket bolted to the car's frame. A support tower inserts into the bracket and the glider rests on it. Same at the rear. The support tower is made of tower uprights and a flat bar with tower inserts. The glider rests on the flat bar. The front support bracket rests directly on the front frame brace and is fastened to the front bumper. The rear bracket rests and is fastened to the rear bumper. There's a Yakima crossbar at the center of the car that bears most of the weight. A steel cable links the flat bars and the crossbar.
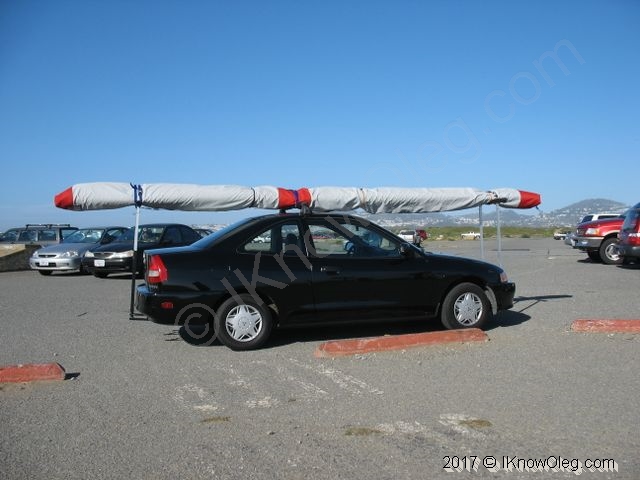
My objectives when making this system:
- Whenever possible, make modifications to the car reversible. There are just two 1" holes in the trunk and two hard-to-see 2" cuts in the front bumper cover
- Make the system removable so it doesn't interfere with daily driving
- Make it portable so that it can fit in the trunk of the car
- Hold two gliders
Difficulty: medium-high
- Front brace: a part of the car frame at the bottom of the front of the car
- Front bumper: a part of the car behind the plastic bumper cover
- Bracket: an aluminium bracket that attaches to the car
- Tower receiver: a 2"-long square rod welded to the bracket. The tower is inserted into them
- Tower: a pair of square rods that fit on the tower receivers plus a flat bar on top on which the glider rests. Has an upside down U shape.
- Flat bar: a padded 2" wide flat bar. It has a pair of tower inserts which are square rods that fit into the tower uprights
This includes (approximate sizes):
- 1.5" x 3/4" hollow rectangle rod, mainly for flat bars and other
- 1.5" x 1/2" strap, front bracket
- 3/4" x 1/2" strap, rear bracket
- 3/4" hollow rod, tower receivers
- 1 1/4" hollow rod, tower uprights
- 1" steel strap, bumper inserts
Note: since the inserts are exactly the inside dimensions of the uprights, both of them have to be sanded/rasped so that the inserts fit inside the uprights.
Ask around for an aluminium welder.
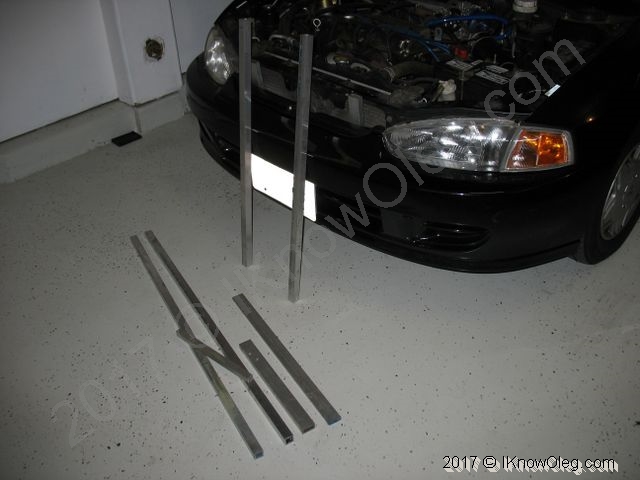
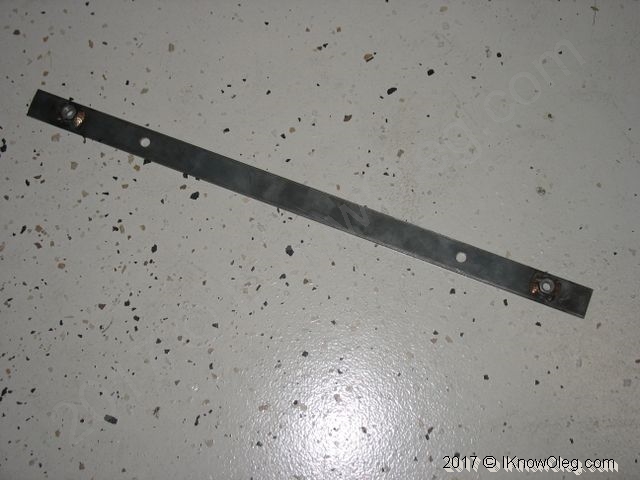
With some convincing, I bent and hammered the strap inside the bumper. Now I have something to bolt the brackets to.
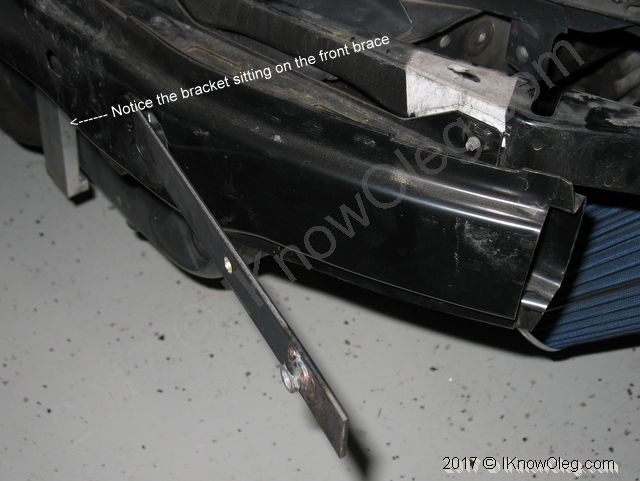
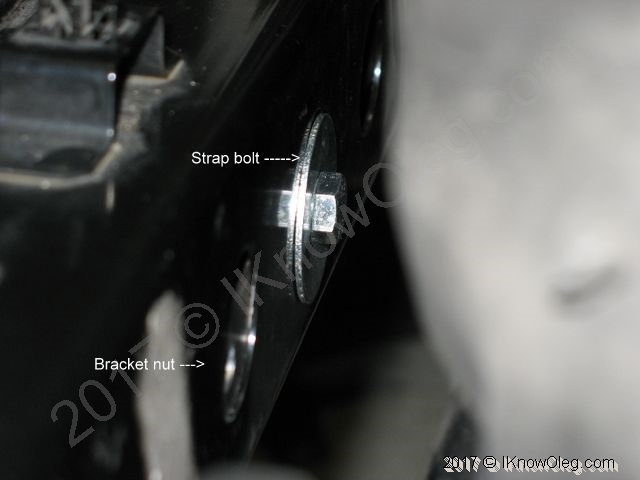
I forget why I didn't weld all four bolts. But I think there was very little room between the bumper and the trunk area and at that point I didn't know how to remove the whole bumper. Therefore I had first slipped the bolt in sideways then slip the nut & washer separately in order to fasten the strap to the bumper.
Here is how the front bracket looks.
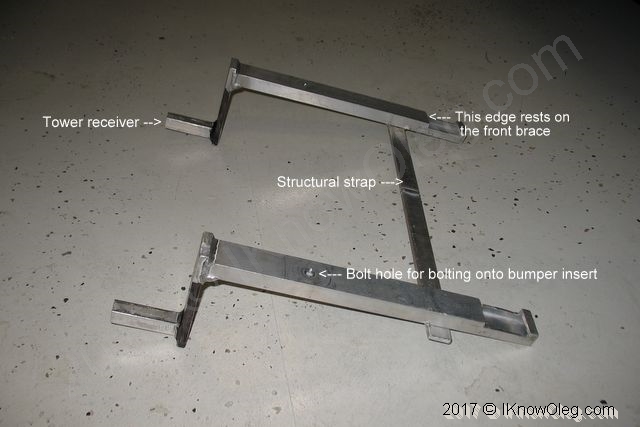
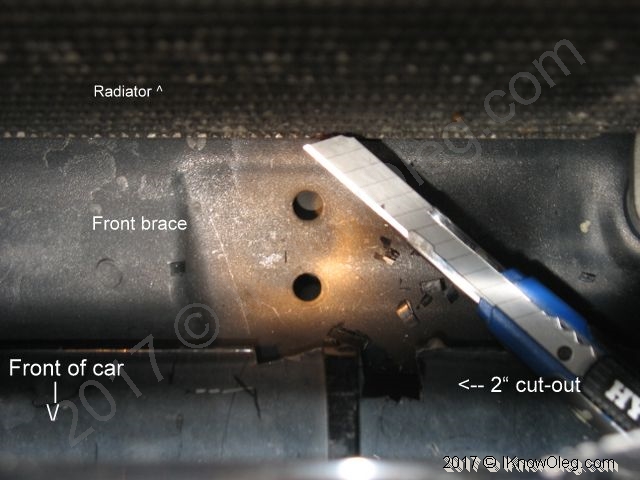
For the bracket to rest on the brace, I cut off about a 2"-long section in the rectangular rods then cut some room for them in the plastic bumper cover so they can reach and rest on the front brace.
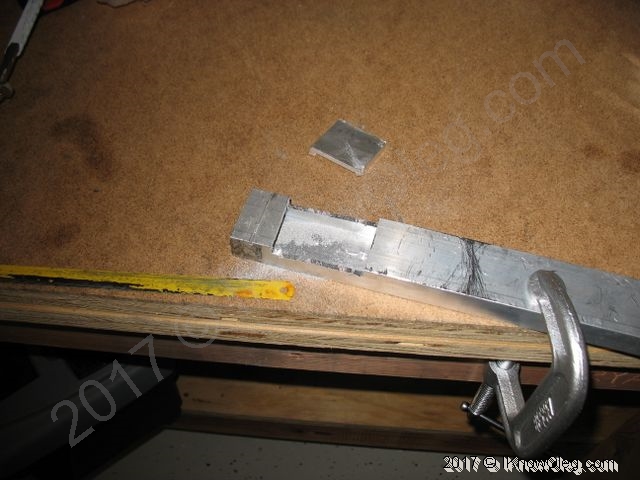
First I cut enough to fit the hacksaw blade sideways, then cut the rest. I wore a work glove and grabbed the blade directly with my hand and got to work.
I experimented with the placement of a structural strap so that the whole bracket can fit under the hood release latch and slip down between the bumper cover and radiator. Here the strap is temporarily in place with some duct tape.
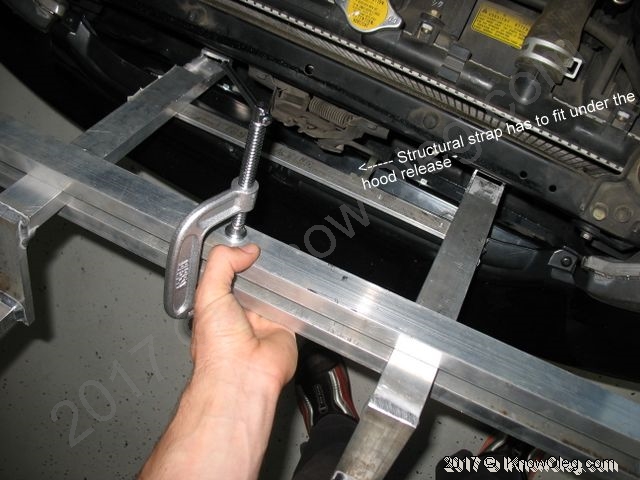
As you can tell from this photo, I first welded the tower receivers to see how they'd fit under the hood, then worked the rest of the measurements from there.
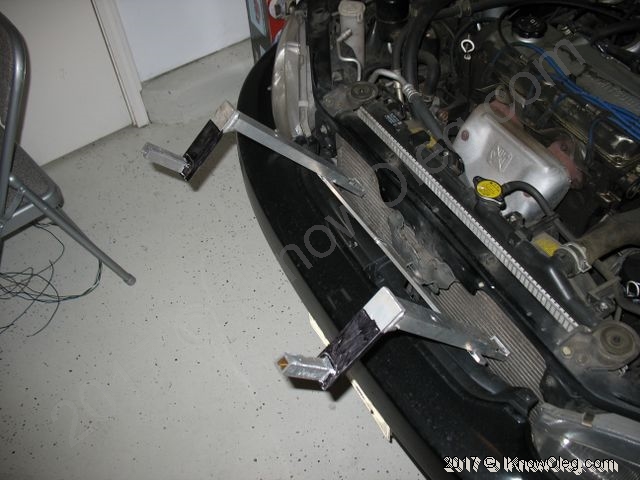
Top view
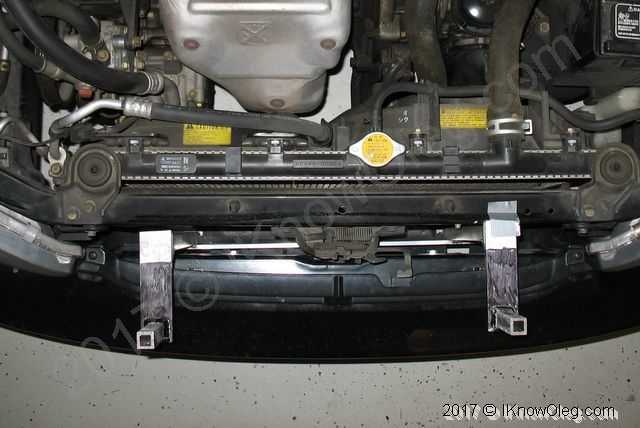
Hood closed
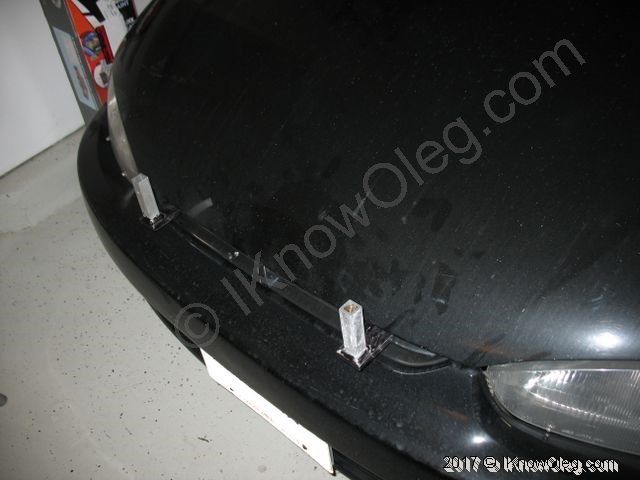
With front tower
<< First [Prev] [Next] Last >> 1.. 2