<< First [Prev] [Next] Last >> 1 2 3 ..4.. 5 6

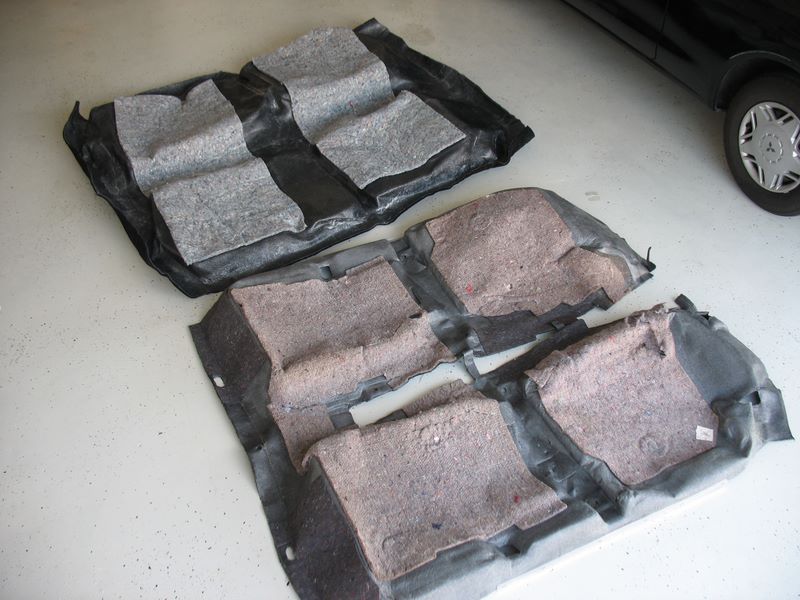
The jute on the back of the carpet is pretty good, but isn't glued all that tightly, so I taped the edges to prevent it from coming off.

Also, the new carpet doesn't have the plastic strips that holds the edge of the carpet stuck to the car's frame near the door sill area. Save these from the old carpet. You can reuse the staples if they're in good shape.
The jute material is hard to cut, so use a sharp tool to minimize shredding. Duct tape along the cut to prevent the unwound jute from spreading all over the place. Also, it's not the best thing to breathe in your lungs.

Then I ensured that the rear seat area fits well and moved over to the passenger side.
Again, I matched the pillar under the seat first and worked from there towards the rest of the carpet.

Use clamps and weights, such as dumbells, to pin the carpet down while shifting it around for the best fit. A helper is useful for this part, or otherwise you'll have to walk around the car all day adjusting the carpet from both doors.
Come back a second time, punching holes for driver's seat and temporarily fasten the carpet. You can use the seat bolts or just stick a screwdriver through the carpet and bolt holes.
Move over to the passenger's side. Put the rear seat and console back and make sure the carpet tucks in well under them. Then punch the passenger's side holes as well.
Obviously, if the driver's side fits well but the passenger's side just wouldn't stay in place then fasten the passenger's side first.
Ensure a perfect fit for the driver's side foot area and that there is good clearance for pedals.
<< First [Prev] [Next] Last >> 1 2 3 ..4.. 5 6
To Step 5 - Trimming Excess Carpet