Mitsubishi Mirage Carpet - Trimming Excess Carpet
<< First [Prev] [Next] Last >> 1 2 3 4 ..5.. 6
Wrapping Up the First Part
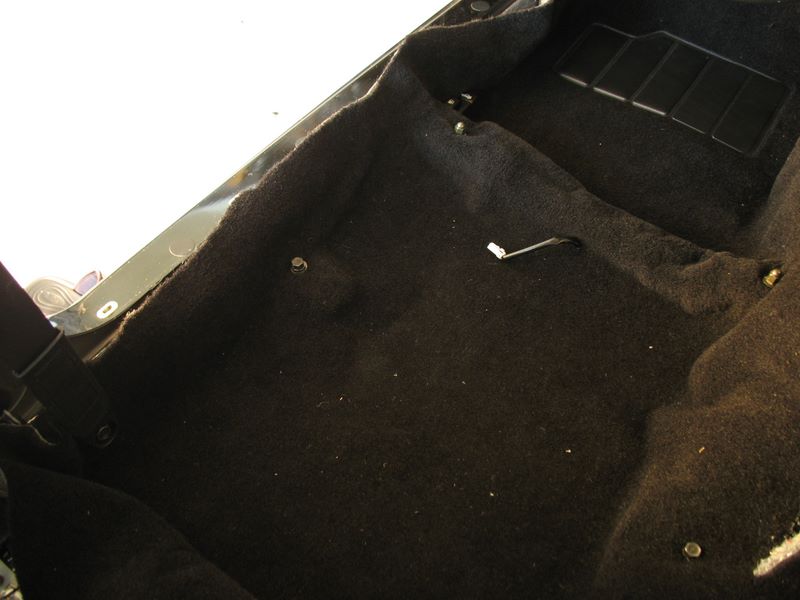
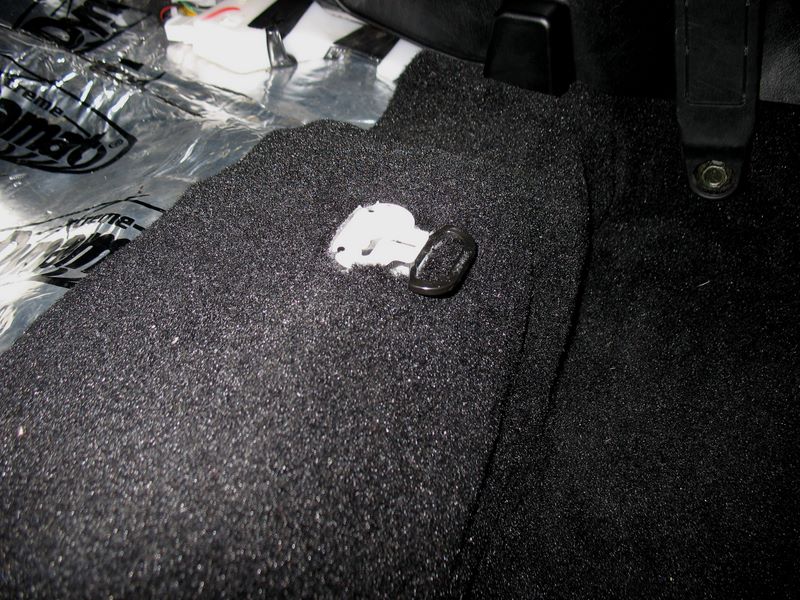
With the carpet in the final position, make cuts for the trunk release, seatbelt sensor, seatbelt anchoring bolt and the seat bolts. I made very exact cuts and holes here but you can cut holes as big as on the OEM carpet. Bolt the carpet to the floor.

Cut the holes for the back seat keeping in mind that the position of the hole will change once the carpet wears over the seat hardware.

Install the Console
Tuck the carpet and make holes for the front side of the console and then install the front console. I tried to cut as little as possible of the carpet that goes under the console. This is so that it insulates better from the exaust pipe running underneath.
Make any necessary cuts to accommodate the hand brake and install the rear console. Snap in the radio bezel.
Replace the rear trim and install the rear seats.
Trimming the Sides
Start at the front and make sure the foot area fits well. Use a weight to hold the right foot area steady and cut holes for the left foot rest. I was able to make a good fit for the foot area without any cutting.
Work any excess carpet into multiple folds along the sides. Cut small V-shaped grooves to releave excess carpet and trim the carpet to match the door frame.
Install the carpet retainer, make any adjustments and insert the staples one by one, all along ensuring the carpet fits well.
Repeat for the other side and install the foot rest, cowl side trim and sills.
Install the Seats
Make sure you are satisfied with the fit of the carpet because it'll be hard to make changes once the seats go in. I didn't do this yet, but I still have to glue some Velcro to the inner-front side of the carpet to make the carpet stick to the Velcro tabs on the car.
<< First [Prev] [Next] Last >> 1 2 3 4 ..5.. 6