<< First [Prev] [Next] Last >> 1 2 3 4 5 6 7 8 ..9
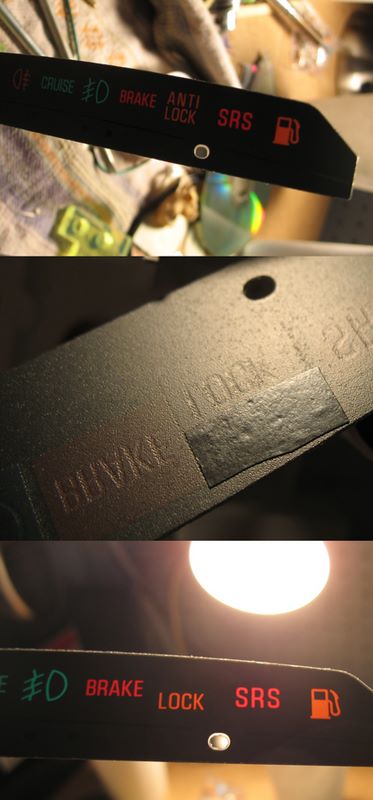
My old cluster had an aftermarket "flasher" bulb that indicated that the car was locked and armed. It came with the power locks / alarm kit. I wanted to preserved this functionality but I didn't want to drill into the new cluster. Instead, I blocked the word "anti" on the cluster and made the word "lock" flash. Since the alarm module outputs 4V and the cluster bulbs are 12V, connecting the two didn't work. I tried boosting the voltage with a transistor but still no luck.

Instead I desoldered the dimmer red LED from its wire and soldered a white LED instead. I got it from RadioShack, the brightest I could find. I wrapped it in paper and stuffed it in the cluster, right behind the "lock" indicator, in the bulb socket shown.

The end result looks like this:
I reran the RPM tests I ran with the Sunpro tach and noted down the new RPMs as they showed on the new dial. Since I don't require precise RPM readings for any particular speed, I inserted the needle so that it's accurate at 0 RPMs.
I've always suspected the speedometer shows more than the actual speed. To correct this, I removed the needle and inserted it back when my GPS showed a constant driving speed of 75mph. As a result the gauge is dead-on at my cruising speeds but shows a bit less for slower speeds, which is alright by me. Also, when the car is stopped the needle settles a bit below 0, keep that in mind if you ever move yours.
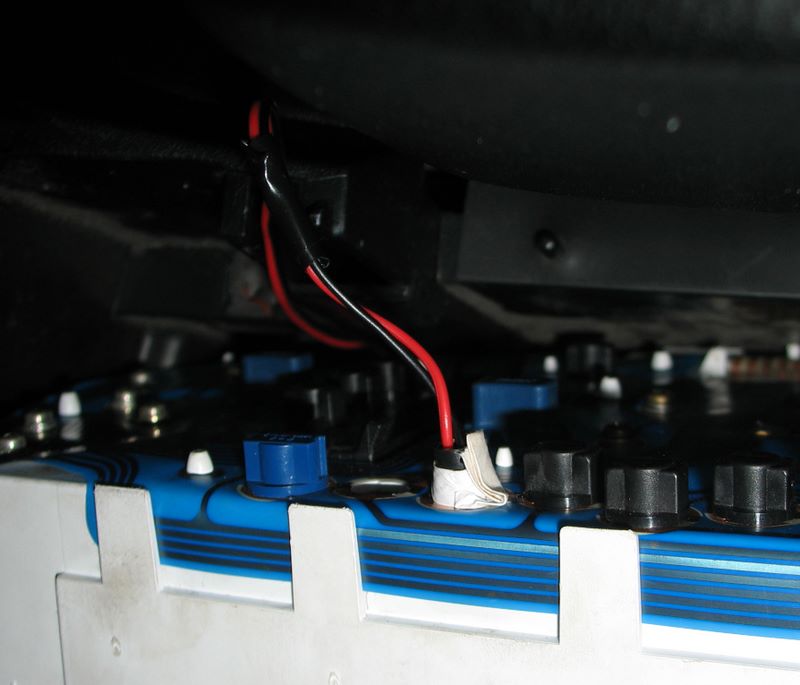
The Bay Area bridges use this toll prepaying device that get scanned each time I cross a toll plaza. Most people are forced to glue it to the windshield to be visible to the reader. I've always wanted to put this device out of sight and now was the time. It fit very snug in the place shown.
<< First [Prev] [Next] Last >> 1 2 3 4 5 6 7 8 ..9